CUTTING IN THE WRONG DIRECTION
 Despite there being a ‘correct’ direction of cut, there are a number of occasions when it’s advantageous to cut in the ‘wrong’ direction i.e. with the rotation instead of against it. In all cases three conditions apply:
The cut is being made for a specific purpose;
It’s nearly always a very light cut;
The cut is being made deliberately, so you are not going to be taken by surprise by the router trying to run away with you or depart from the edge of the workpiece.
Specific occasions when you might want to make a cut in the reverse direction include the following three examples:
Removing ripples from moulded edges
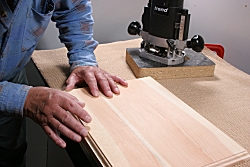
After you’ve moulded the edge of a panel, particularly if it’s in light-coloured wood, inspect your moulding with your fingertips. Do this before removing the cutter from your router. You’re likely to find a few tiny blips that are difficult to see in the raw wood, but will certainly become visible when the finish is applied to the panel.
Your fingertips are more sensitive than your eye for this particular purpose. If they reveal any imperfections, take a reverse pass along the affected sides and you’ll remove the blips and leave a smooth polished edge.
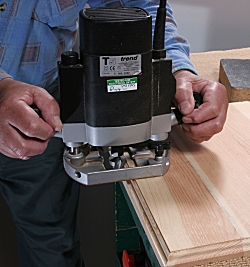 This is one of the most useful of all reverse cuts and the reason it works is that router cutters give an inherently better finish when the cut is made with the rotation. Unfortunately, it isn’t a reliable method unless the cut is very light – which it is in this case.
Picking up a missed corner
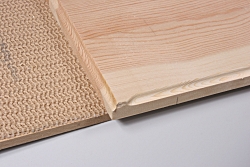
When moulding the edges of a panel such as a stool or table top, it’s easy to miss a corner. When this happens, a good way of rectifying it is to pull a reverse cut. Since you’re cutting with the rotation, the cutter will want to come away from the edge of the panel, so you apply a little more pressure than if you were cutting in the correct direction.
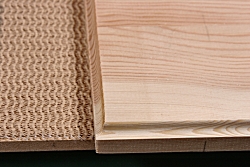
Two or three passes might be necessary to achieve a clean cut.
Avoiding breakout in a through housing
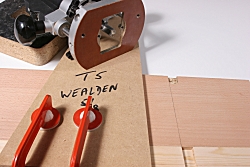
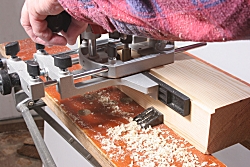
The classic method is to back up the cut with a scrap piece of board of the same thickness as the workpiece, but a quick alternative is to begin each pass with a reverse cut a little way into the board. The photograph shows the first cut for a housing in veneered chipboard, using a simple home-made jig.
The router is held firmly against the straight-edge and the cut carefully pulled into the workpiece for about 20mm. The router is then carefully slid out of the housing (without switching it off) and brought to the near side of the workpiece to make the main (correct direction) cut.
A very similar situation arises when you’re moulding end grain. To avoid breakout, begin each pass with a judicious reverse cut. This operation is akin to planing end grain with a hand plane. You plane both sides towards the middle, which is exactly what’s happening here.
