BUILDING A ROUTER TABLE – PART ONE
The Top
The top is the all-important component of any router table, with the prime requirement that it should be flat. The best home-made tops, in my opinion, are of MDF covered both sides with plastic laminate. For a small table a single thickness of 18mm MDF is sufficient but for this large table I am using two thicknesses of 15mm MDF glued together with PVA glue. While I am convinced that this is the best form of construction for a home-made table, the cost of the materials make this an increasingly expensive option. The main alternative is a length of kitchen worktop, which can sometimes be found as an offcut at an attractive price. The downside is that kitchen worktop quality varies considerably, so if you take this option make sure that your piece is of ‘router table’ standard and light coloured. If you are taking this option, your work does not begin until the section ‘Installing the insert plate‘.
The MDF top
My MDF top measures 880mm x 600mm
(approximately 34-1/2″ x 23-1/2″). I bought a 4ft x 3ft panel of 15mm MDF from which one piece was prepared to exact size and the corners rounded. The router, with a template trim cutter, was used against a straight edge to finish the rough-cut edges to exact size and the same cutter used with my home-made corner rounding jig to put exactly the same radius on each corner.
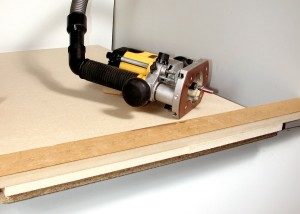
Photo 1 shows one edge being trimmed to exact size using the straight edge and Wealden T8030B cutter.
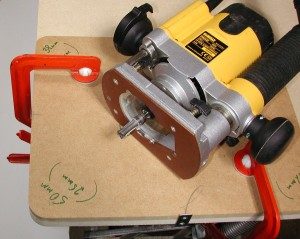
Photo 2 shows a rounded corner. I use both these techniques frequently in my routing. The second piece of MDF was cut slightly oversize then the two pieces glued together and clamped overnight. When choosing your MDF look carefully for a flat panel.
When you come to gluing the two pieces together, if they are not absolutely flat glue them with their concave surfaces to the outside and clamp firmly. The bow in the two pieces will counteract each other and help pull the finished panel flat.
I used ordinary PVA glue and spread an even coat on the finished piece using a scrap of hardboard as a spreader. The oversize piece was then laid on a router mat on the bench and the top piece laid on it and pushed back and forth to give a ‘rubbed joint’ effect, spreading the glue evenly between the mating faces. The router mat was then removed and the two pieces clamped together.
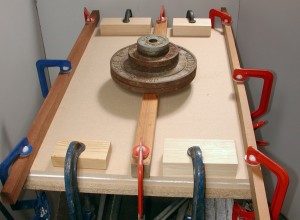
Photo 3 shows the two layers glued and clamped. Note the use of timbers with the clamps to apply the pressure evenly.
When the glue has dried trim the oversize board to exact size using the top layer as a pattern. The same template trim cutter is used in the router and the top bearing run against the top layer of MDF.
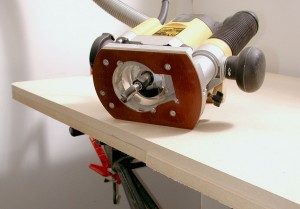
Photo 4 shows the lower layer being trimmed with the upper layer as a pattern.
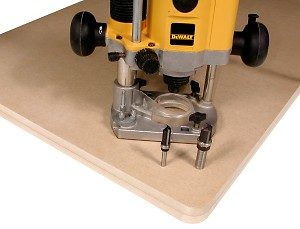
The glued top is now ready for laminating and is shown in Photo 5 with two suitable Wealden template trim cutters for making it: the 1/4″ shank T8030B and the 1/2″ shank T8039B1/2. Both have cut lengths sufficient to span the thickness of the 15mm MDF.For a small table, follow exactly the same procedure except use only one layer. The same techniques for trimming the board to exact size and rounding the corners are used.
My small table has a top measuring 600mm x 460mm made from a single thickness of 18mm MDF
