Making picture frames with Wealden’s exclusive cutters
Framing a picture is a great way to show off your digital photographic prints: a quality frame can enhance your results and turn them into works of art. If you are a woodworker and router owner, the solution to making a frame that is both unique and attractive is to produce it yourself.
Picture frame mouldings are available to buy, however these are both expensive and often of poor quality. The timber used is often very soft and finished with a paint effect. By producing your own mouldings you are able to select the timber and section to suit both the picture and the room it will hang in. Producing your own moulding also allows the choice of rebate and offers the opportunity of adding other decoration, such as stringing etc.
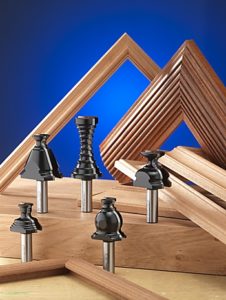
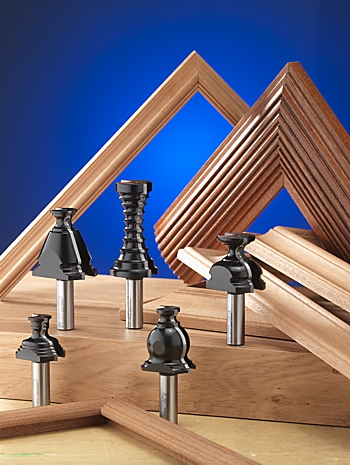
Wealden have designed a range of specialist cutters to machine frame mouldings from 66mm wide suitable for large frames to a small 21mm wide section.
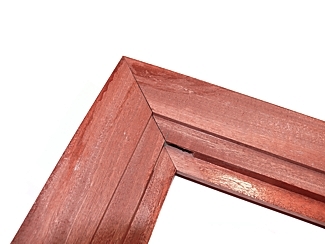
The pictures in this article illustrate a frame made using the largest cutter, the Venezia profile, part number T3703 1/2.
To produce your own picture frames you will need a 1/2″ routing machine, a router table, a means of cutting the mitre joints and some timber.
1. Moulding the timber

Some of the moulded sections are large and need to be moulded in several passes. With the smaller sections it is possible to mould them on the edge of a wider board and then part them off with a table saw.
An alternative approach is to size the moulding timber first and then fix the section to a board with double-sided carpet tape. This will enable the machining to be carried out, keeping hands safely away from the cutter.
Size the timber and cut to length, allowing for the mitre at each end plus about 50mm. The larger mouldings will need to be cut in several passes to reach the full depth.
2. Cutting the rebates
Having moulded the timber, a decision on cutting the rebates needs to be made.
For small frames, a simple rebate to contain both the picture, the glass and the backing board can be cut with either a straight two-flute cutter on the router table or, alternatively, for faster results a rebate cutter or tenon surface trim cutter could be used.
On large frames additional strength can be imparted by the use of a double rebate, with a backing board of ply or MDF being screwed into the second rebate to contain the picture and glass and support the frame at the same time.
3. Mitring the frame
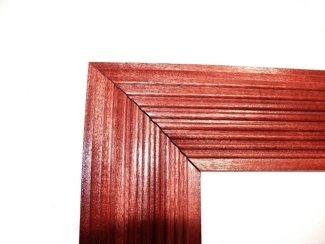
An accurate mitred joint is essential for a professional finish and cutting these joints is one of the most important parts of the job. Best results will be obtained by a picture frame mitring machine, but as these are specialist and expensive, most people will prefer to use either a mitre circular saw or one of the hand mitring saws that are readily available from the large DIY outlets.
Practise first with some scrap timber to ensure an accurate joint can be made. Obviously accuracy on the length of the four components is also important, as the frame will never assemble accurately if the opposite side components are of different lengths.
4. Joining the mitres

The standard picture framer’s technique for joining mitres is to pin and glue the joint. However, this is not a method we favour and is not a woodworker’s solution. For larger frame sections, a biscuit or false tongue will provide a strong joint and hold the mouldings in line whilst glueing. Other techniques such as dowelling or domino joints may also be used and more information on this is given in the article by Steve Prescott.
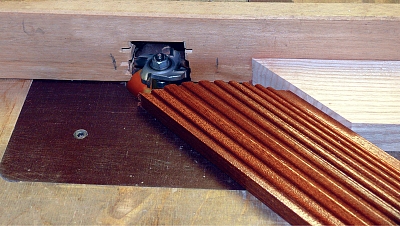
On wider frame mouldings, we favour a false tongue made from ply or MDF and the joint may be produced in a router table using a suitable width grooving cutter. A strip of 6mm ply or MDF in conjunction with a 6mm groover makes a strong concealed joint. When machining the grooves into the mitred ends, a 45 degree mitred locator board clamped to the table top will prevent the cutter snatching the work and will allow the timber to be fed into the cutter, positioning the start of the cut and preventing it breaking through the outsdie of the frame. Radius the ends of the false tongues to fit into the shaped recess created by the groover and dry-assemble the frame to ensure that everything fits together before attempting to glue.
5. Clamping the frame
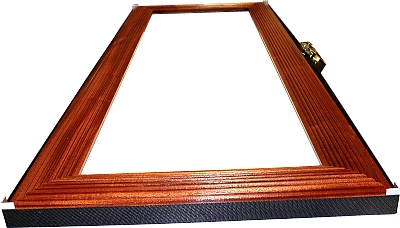
Proprietary mitre clamps are available for joining the corners of picture frames, however a cheaper and more effective technicque is to use a ratchet web clamp readily available from motorists’ shops etc. and used for holding loads to roof racks etc. If a small length of aluminium angle is cut for each corner, this will enable the webbing to pull the frame into line without damaging the timber. Make up four small aluminium angle corner pieces and file a small radius on the outer corner, so that the webbing will slide smoothly round it.
If all is well after a dry run clamping the frame up, the joints and tongues can be glued, the frame assembled and clamped with the webbing strap.
A flat surface at least as large as the frame is desirable, so that the frame can be held down against this to ensure that the finished article has no twist.
6. Finishing
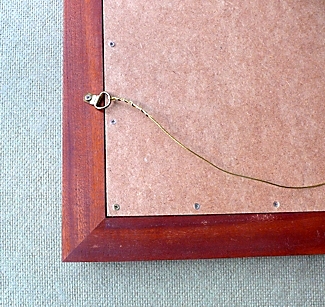
All that remains now, after the glue has dried, is a final clean up using fine wire wool to smooth the mouldings before finishing. The choice of finishing is yours, however we find that a sanding sealer or French polish applied first, followed by a further smoothing with wire wool and then a finishing coat of wax gives an attractive finish worthy of a piece of furniture.


