Picture framing techniques by Steve Prescott
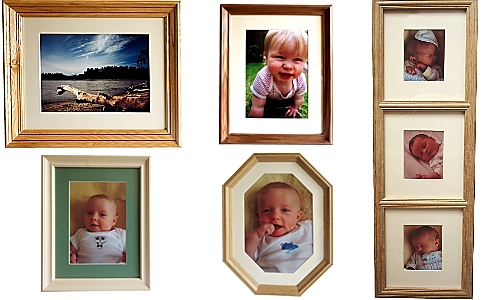
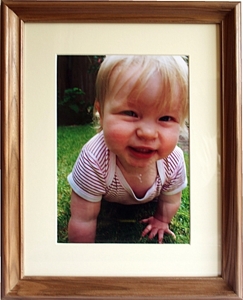
1. Decorative frame in Ash with Walnut stringing using Wealden Limone picture frame cutter T3707 1/2
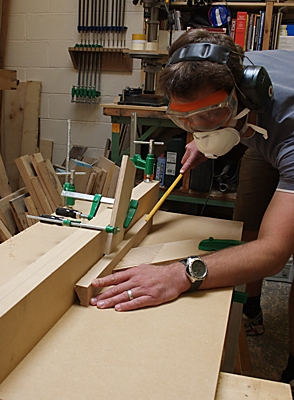
The general principles outlined in the picture framing article apply to moulding the sections, however in this case I have moulded lengths just sufficient for each frame side plus the mitre allowance on a home-made table using sized timber.
The table has two featherboards to control the cut and a push stick for safety.
To enhance the look of this frame I have inserted two lines of stringing in black walnut, achieved using a Wealden 1.5mm Groover (T5410 with T3030 1/2 Arbor) in the router table with a custom arrangement of a small sacrificial fence attached to the router table fence with double sided tape. This achieves two things: it gives a land for the flat surface of the moulded piece to bear against and it backs up the cut to keep the edges of the grooves clean.
The lengths of stringing were then glued into the frame mouldings and finished before proceeding with the next operation, which was to cut the glass and back panel rebates. This was done with a Wealden T2437 1/2 Tenon cutter in the router table, obviously sized to suit the dimensions of the picture and glass.

The lengths of timber were then mitred to the finished frame size and, in this case, I strengthened the mitred corners using domino joints. Other techniques, such as biscuits or dowelling as described below, could also be used.
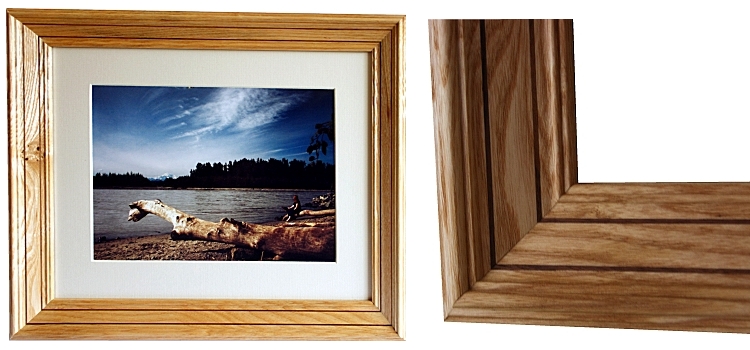
The finished frame now has a unique look with the attractive contrasts of two woods. I think any woodworker would be proud of the result shown in the finished picture.
2. Decorative frame in American Black Walnut using Wealden Lanterns picture frame cutter T3705 1/2
The mouldings for this frame were produced as above and the Wealden T2437 1/2 Tenon cutter was again used to produce the glass and back panel rebates. As this frame has a smaller section, I decided to reinforce the corner mitres with a 6mm dowel.

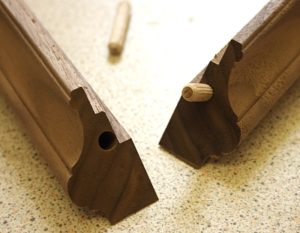
 The photos above show a mitred frame end being drilled with a Wealden Dowel Drill (DA1026) and the homemade jig. The jig consists of a plate with a hole, which accepts a similarly sized guide bush on the router with a fence to bear on the rear face of the frame component and an angled guide made from an offcut produced when cutting the mitres.
The frame piece is offered up to the jig and the whole assembly is held in the bench vice, with a supplementary cramp to ensure the frame is held tightly against the guides. The router can then be dropped onto the plate with the guide bush located and plunged to the appropriate depth. It is important to consider how deeply the mouldings are cut away in order to prevent the dowel holes breaking the surface.
This type of joinery gives a clean look, as it is all concealed. Once again, a very professional frame for a favourite picture!
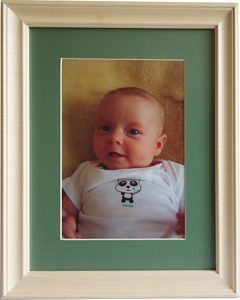
3. Small frame in rippled Sycamore using Wealden Victoria picture frame cutter T3713 1/2
For this frame I used rippled Sycamore with the mitres reinforced using splines made from 1.5mm Maple constructional veneer.

 This was cut using a Wealden T5380 six-wing cutter which allows a deeper cut than the standard 1.5mm groover.
The spline grooves were cut using a jig, which consists of a notched back plate which rides against the router table fence and a 45 degree guide, in order to maintain the angle at which the frame is presented to the cutter.
It is important not to assemble the jig using screws, as these might foul the cutter.
It is also worth noting the frame is very delicate until the reinforcing splines are in place to back up the weak end grain glue joints in the mitres.
4. Octagonal frame in Oak using Wealden Wave picture frame cutter T3709 1/2
I decided to make this frame in Oak in an octagonal pattern with the joints reinforced using 6mm dowels, drilled after assembly and plugged with Oak plugs.

 The dowel holes were cut using a DA1026 dowel drill mounted in my workshop drill press. Although the dowel drills are intended for use in routing machines, they can be used in a drill press, providing they are used at the highest possible speed.
After drilling the dowel holes, a matching set was drilled on the other side of the mitres, merely to accept plugs to balance the appearance of the piece.
5. Triple window frame in Oak using Wealden Ripple picture frame cutter T3711 1/2
Once again I chose Oak for this frame. As the cutter gives a symmetrical moulding, it was ideal for this type of frame which is split into three windows. The mitres were reinforced with dovetail keys, made using my T1009 dovetail cutter in the 1/4″ router table. The dovetail housings were cut using a jig to hold the workpiece at 45 degrees.

The cut was first made using a Wealden 3mm straight cutter T203W, in order to help ease the amount of work expected of the dovetail cutter. The jig consisted of a notched plate, which runs on the router table, and a 45 degree guide which runs against the router table fence. The workpiece is then held in the jig and against the fence. It is important not to assemble the jig with screws, as these could foul the cutter. The dovetail housings are cut first and then the same cutter is used to gradually make a strip of dovetailled moulding, which gives a tight fit in the housing and can then be cut to make the keys.

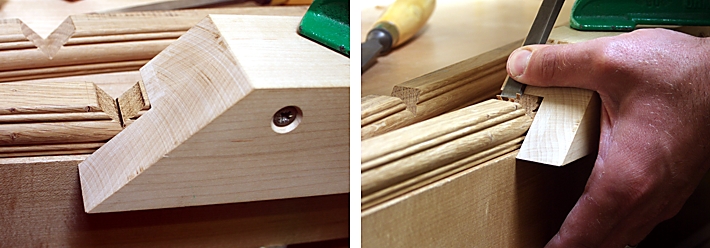
The dividing rails were cut into the side frames by mitring the ends and then cutting a matching recess into the frame. To ensure a clean mitre joint, a simple jig was manufactured at 45 degrees to ensure the chisel would cut at the correct angle to give a good fit with the rails.
The mitres for the rails were reinforced using 6mm dowels, drilled with my DA1026 dowel drill and a jig to hold the router. The jig consists of a plate with a hole to accept a guide bush and a fence to give alignment with the rear face of the frame. The jig is cramped to the assembled frame and the router mounted with the guide bush fitted in the hole and then plunged to the appropriate depth. The holes were then plugged with Oak plugs.


